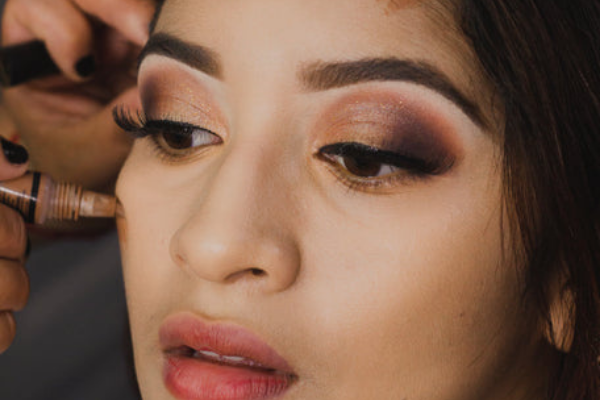
How to Contour with Powder for Beginners

You may think contouring and highlighting is a relatively recent phenomenon: in the 2010s, makeup artists and celebrities like Kim Kardashian rebooted the 1980’s go-faster stripe look to create a softer, more natural appearance - but (believe it or not) - contouring actually started in the 16th Century - when Elizabethan actors applied soot and chalk to help the audience see their facial expressions. Learning how to contour with powder can seem a little intimidating at first - but once you know the basics (and what you want from it), it can be a total game-changer.
Contouring 101
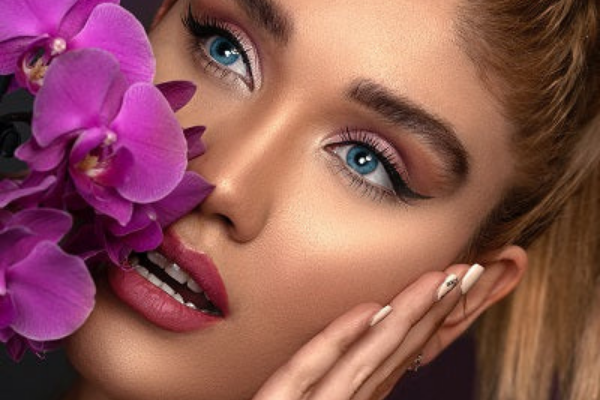
The basic rules of contouring are as follows: if you want a feature to be more prominent, make it lighter. If you want it to recede, make it a few shades darker. While it does get a little more nuanced than that, those are the basic elements to start with. By using shadow, you create the illusion of depth and smallness, while highlight - as the name suggests - does the opposite. Another fun fact: the recent contouring revival was partly thanks to the cosmetic wizardry of drag queens - who apply contour to make their faces appear more feminine. Contouring has long been associated with dramatically changing the appearance of your facial structure - but it can be as subtle or dramatic as you like.
The Right Tools
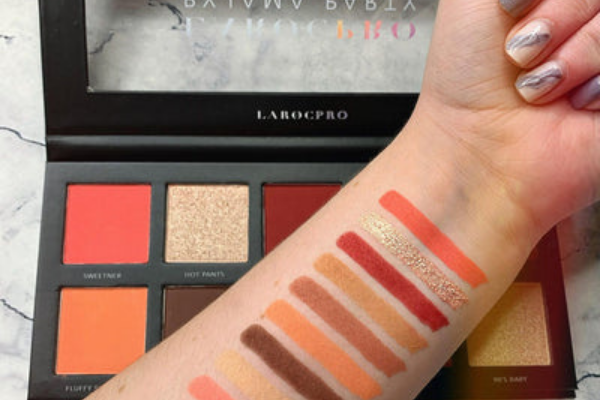
The first step is to decide whether you’re using a contouring palette. Bronzer can be used as contour (in a pinch you can even try eyeshadow) - but bear in mind the results will be slightly different, as bronzer is generally used to add warmth, rather than light and shadow. Contour palettes are generally matte, while some bronzers contain shimmer in them, which can create highlight instead of shadow.. A top makeup artist tip is to use a cool toned, matte bronzer or a blendable cream for a softer finish and a contour brush to blend away any harsh lines - an angled brush is a good choice. Highlighter need not be sparkly, either: if you want, you can use a concealer that’s a few shades lighter than your skin , or something with more sparkle if that’s your preference.
The Right Shade
Single shade contouring is normally best for beginners - but for a more sculpted look, double up with a deeper shade of contour powder to define bone structure and a lighter shade to create shadow. In terms of skin tone, go with the colour of shade that naturally appears on your face - try using a selfie for reference, and contrast with your swatch. Fair-to-medium skins will look great with neutral taupes, while olive or tan tones should steer clear of ashy tones and opt for something deeper and more golden. For dark skin, go for warmth again, and take care to get the right mix of blue and red undertones for a natural look.
Winning Formulas
Contouring isn’t an absolute must - but if you know what you want to use it for, it can be a really effective way to enhance your natural beauty - just make sure it fits with the rest of your makeup. For subtle daytime definition, use a feather-light touch and an easy, breezy powder formula. If you want something a little more glamorous for night time, sticks or cream contour are your best bet (they also work better on dry skin): they have a little more tack, enabling them to cling to the skin.
Contouring for your Face Shape
Just like the (rather rare) hourglass body shape, the oval face shape has long been held up as the standard to which all faces should aspire - but in more recent years we’ve thrown out the rulebook and started celebrating our uniqueness. Whether your face is rectangle, diamond, heart or oblong-shaped or oval, rock your look with contouring that helps you to play up the features you love most: to make features appear smaller, play with adding soft shading around the perimeter to bring it back. Use highlight sparingly (unless you’re going full Instaglam) to make other features likethe brow bone stand out and to brighten the corners of your eyes.
How to Contour
Cleanse, moisturize and apply your usual base. Use the darkest shade first (or your single shade) -to create shadow where you need it. Be sparing and precise: you don’t want it to look muddy. Suggested areas are the sides of your nose, under your cheekbone, along the jawline, in a “3” shape that follows your hairline - or in an upside down triangle to frame your cheeks. Don’t feel compelled to contour any particular way - there’s no right or wrong here - just have fun and experiment with what looks best on you. Next, add subtle highlight anywhere your face reflects light naturally (again, use a pic if it helps) - whether this is along your cheekbones, your chin or the bridge of your nose. Blend carefully, stepping back to gauge the overall effect - then once you’re done, set with setting powder or setting spray.
Looking for high quality, affordable beauty products? With competitive prices and same day dispatch services available, LaRoc’s fast, friendly service is dedicated to inspire you with our great selection of make up brushes, fake eyelashes and hair tools.


Comments